Installation Guide
Using Private CocoaPod
- Get Github access for the Pod repositories.
- Add below line at the top of your podfile.
source 'https://github.com/555platform/PodSpecs.git'
- Add SDK pod with the desired version number.
pod 'IrisRtcSdk', '3.1.24'
Note:
If using any other public pods, please add the below line as well as per your pod version.
Version > 1.7.2
source 'https://cdn.cocoapods.org/'
otherwise
source 'https://github.com/CocoaPods/Specs.git'
Using framework
1) Download IrisRtcSDK
Download and unzip required SDK version file from Iris portal. We provide two different compiled versions of SDK :
- IrisRtcSDK-Device (support for armv7 arm64)
- IrisRtcSDK-Device-Simulator ( support for i386 x86_64 armv7 arm64 )
So, if you are planning to use both device and simulator, then unzip IrisRtcSdk-Device-Simulator-{version}.zip file otherwise IrisRtcSDk-Device-{version}.zip for device only. Each file contains IrisRtcSDK as well as all the dependency framework files. It also contains dSYM files for all frameowrks for debug symbols.
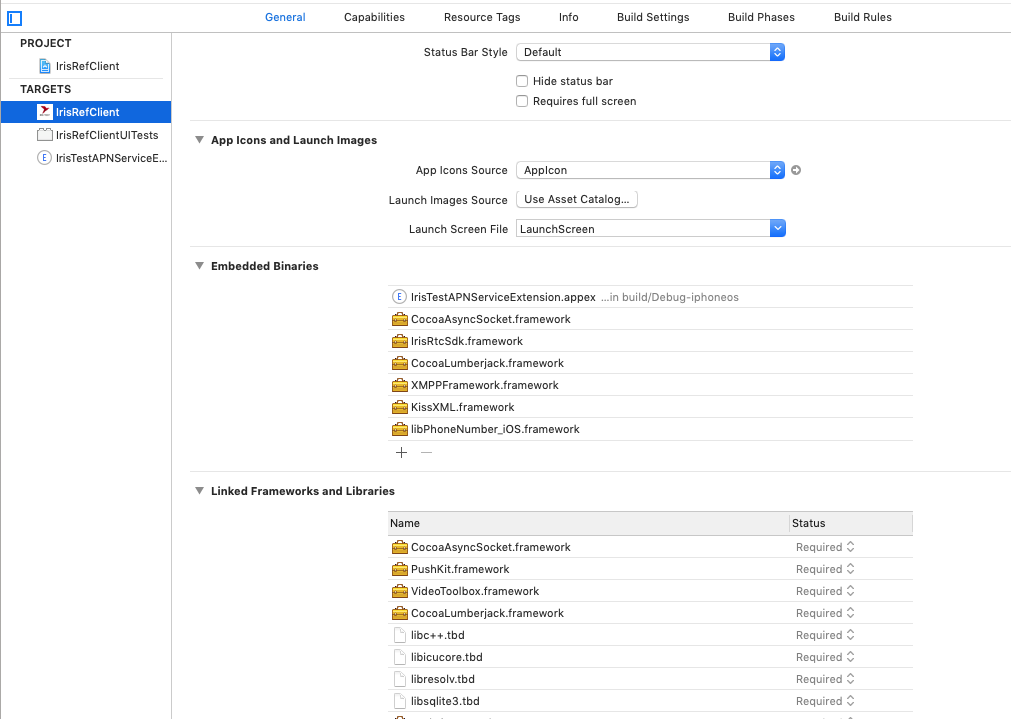
2) Adding framework to your workspace
Copy IrisRtcSDK.framework and all the dependency frameworks to the “Embedded Binaries” section of your Xcode project’s “General” settings. Make sure to select “Copy items if needed”
How to access SDK APIs
Import IrisRtcSdk header file into your app delegate file or any other place you plan to use it.
Objective-C:
#import <IrisRtcSdk/IrisRtcSdk.h>
Swift:
import IrisRtcSdk